Life of Pi
I’ve played around with Pi’s for about a year now, my life of Pi as it were, (using them as Scratch modules for the Code clubs I run in Schools), but having just set up a fresh one for a remote camera server, it brought back memories of all the ‘dicking around’ one has to do to get it ‘just right’ and also how laughably complicated some Linux forums are for people who don’t know Linux. Linux users love a d**k measuring exercises, I however just want to help out anyone who needs to set a Pi up out-of-the-box and set up SSH and VNC for remote access to allow full headless use.
Life of Pi
So you’ve got yourself some Pi….
To set up a new Pi, get an 8GB SSD card and do a full format & wipe on the card using the tool below
https://www.sdcard.org/downloads/formatter_4/
Once it’s wiped, head on over to the Pi website and get the latest copy of Raspian http://www.raspberrypi.org/downloads/ which is in effect Debian Wheezy or if you want a full OOTB experience, get NOOBs which is perfect if you’ve never run a Pi before.
You basically download the Zip file, unpack the zip file & copy the contents to the root of the SD card – easy.
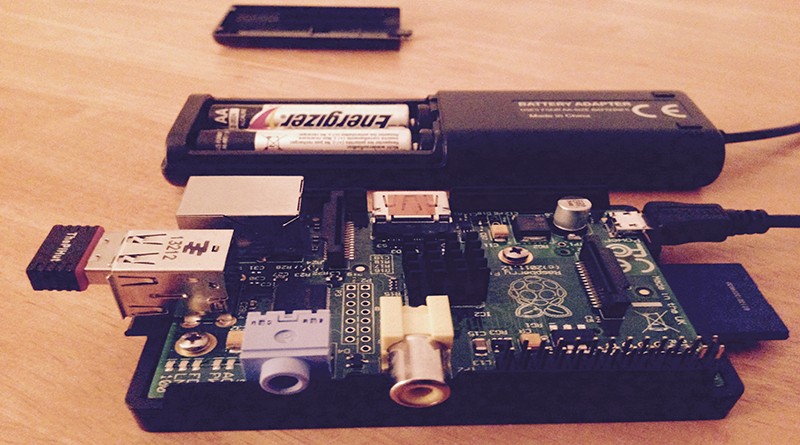
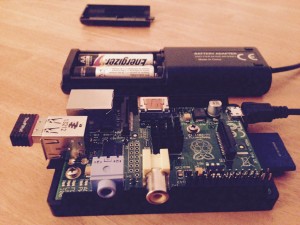
Once you’ve done that, connect a keyboard and mouse and hook up a display using HDMI or RCA. You’ll need a power supply, I use a Blackberry charger but you can basically use anything which outputs 5v.
Once the Pi POST’s, it’ll install the OS from the SD card and prompt you to select an OS (Raspian) and then you just keep clicking ‘next’ until you’re on the desktop. You’ll then go to a prompt. Run;
startx
to start the KDE
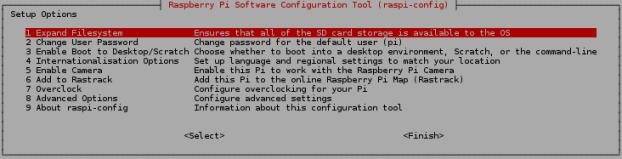
It’ll automatically run the configuration tool (raspi-config) which allows you to do things such as set a hostname, static IP address, enable the camera interface, overclock etc etc.
If you want to set a static IP, you’ll need to touch a config file in Nano, get to a prompt (run LXTerminal from the desktop) and do;
sudo nano /etc/network/interfaces
This will bring up the network interface configuration file in the nano text editor.
You should see something along the lines of:
auto lo
iface lo inet loopback
iface eth0 inet dhcp
allow-hotplug wlan0
iface wlan0 inet manual
wpa-roam /etc/wpa_supplicant/wpa_supplicant.conf
iface default inet dhcp
Change the following line:
iface eth0 inet dhcp
To read (your IP information may be different depending on what you saw using ipconfig on your local networked machine, in the example below, I’m using 16):
iface eth0 inet static
address 192.168.1.16
netmask 255.255.255.0
gateway 192.168.1.1
sudo /etc/init.d/networking stop
Followed by:
sudo /etc/init.d/networking start
So now you have a dedicated IP everytime the Pi boots.
You’ll need a VNC server
To set up SSH simply enable it in the raspi-config tool. The default username and password combo for a Pi is user:pi password: raspberry
From a prompt, then do;
sudo apt-get install tightvncserver
You can then run a VNC session (remember in Linux, desktops iterate every time you run it, so make a note of the port number when you want to connect)
tightvncserver -geometry 1024x768 -depth 24
This forces a specific screen site & colour depth, but you’ll want some preferences saved in a startup config file for vncserver, so you dont have to run this command every time so, you’ll need to touch another file.
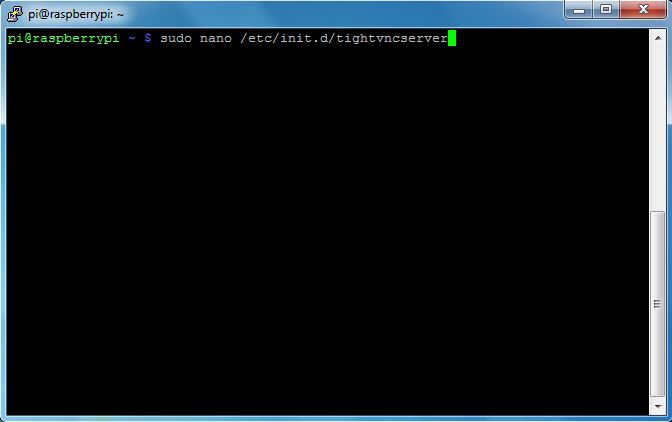
Now copy & paste the below;
# configure the user you want to run this under - default is pi,
export USER='pi'

eval cd ~$USER

# Check the state of the command - this'll either be start or stop
case "$1" in
  start)
    # if it's start, then start vncserver using the details below
    su $USER -c '/usr/bin/vncserver :1 -geometry 1280x900 -depth 16 -pixelformat rgb565'
    echo "Starting vncserver for $USER "
    ;;
  stop)
    # if it's stop, then just kill the process
    pkill Xtightvnc
    echo "vncserver stopped"
    ;;
  *)
    echo "Usage: /etc/init.d/vncserver {start|stop}"
    exit 1
    ;;
esac
exit 0
When you’ve saved that file,
do;
sudo chmod 755 /etc/init.d/tightvncserver
And now just add your file to the list of startup actions by typing the following:
sudo update-rc.d tightvncserver defaults
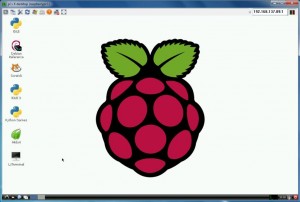
That’s it! You should now be able to access your Pi remotely on the IP you’ve setup and access the desktop
In my next blog post, I’ll show you how to add the camera module & set up webcam streaming