Quick set up of a Cisco 3750 Catalyst switch
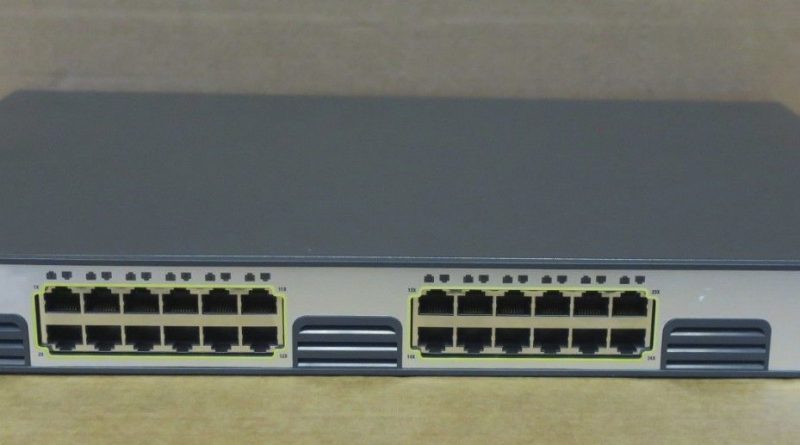
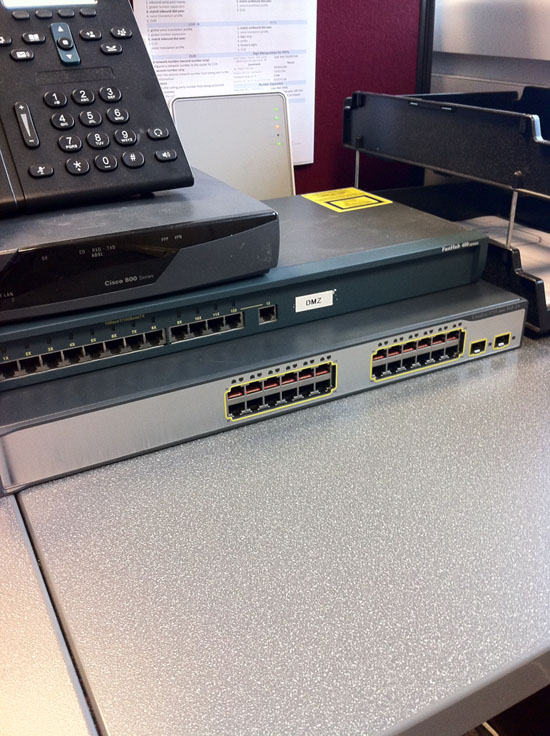
So I acquired one of these fairly standard switches today and spent a few moments setting it up
ok so the first thing you will need to do is run through wiping it of security & passwords if its a pre-loved model! I won’t go through again how to do it, you can see other blog posts here.
Once its wiped, best set up some security, again, you can see how to do that in other posts.
The next thing you need to do is configure a port for switch mode ‘access’ and give it an IP address. You can then access its web interface. We’re going to take a look at current VLAN configuration on this switch too, as in my topology post, (which brings everything I’ve learned so far together) we’ll want to set up a couple of VLANS as I’m bringing in two Internet connections into them.
So, issue a ‘show vlan’ command from a privileged mode
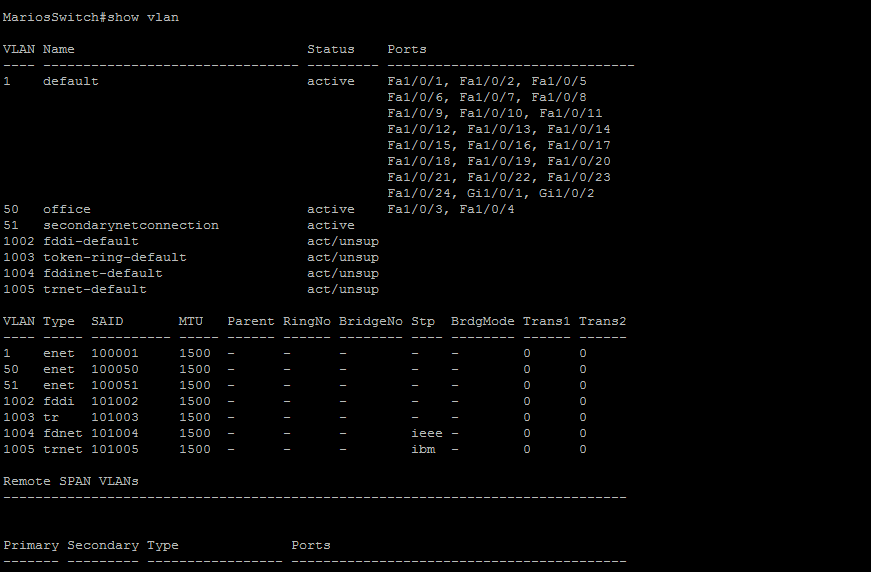
Now above we can see that I’ve set up a couple of VLANs, 50 and 51, named office and secondarynetconnection which will have two different outside connections terminated here. Then the default vlan currently has all the ports belonging to it. I’ve moved ports fa/1/0/3-4 to belong to the office vlan for now.
If you want to build a vlan, you can simply go to privileged mode, (config t) enter vlan and then a number, then name it, and save it.
Like this;

This pretty much works on any kit where you can configure vlans. Simply enter a number to id it, name it and quit. You can then start tagging and assigning ports to vlans.
So to do that, in the example below, and taking into consideration the vlan we’ve set up above, we’re going to assign port 15 on the switch to vlan 100. We do it by configuring the interface as an access port, and then assigning it to vlan 100 like this NB: – I’ve included a common error whereby you must space the vlan and ‘number’ part else you’ll see an error.
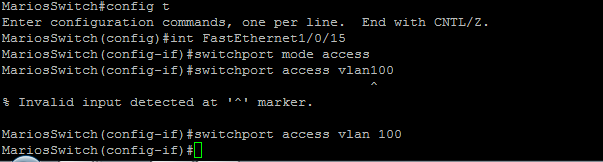
so you can now select a port, make it usable, and then assign it to a vlan.
Accessing the switch via its web interface
So much in the same way as I’ve configured other kit, assign vlan1 with an ip address, in this instance I’ve used a class c 192.168 address, and made the first port a member of that vlan, so when I plug a network cable in, I can access the IP I’ve assigned, to get this;
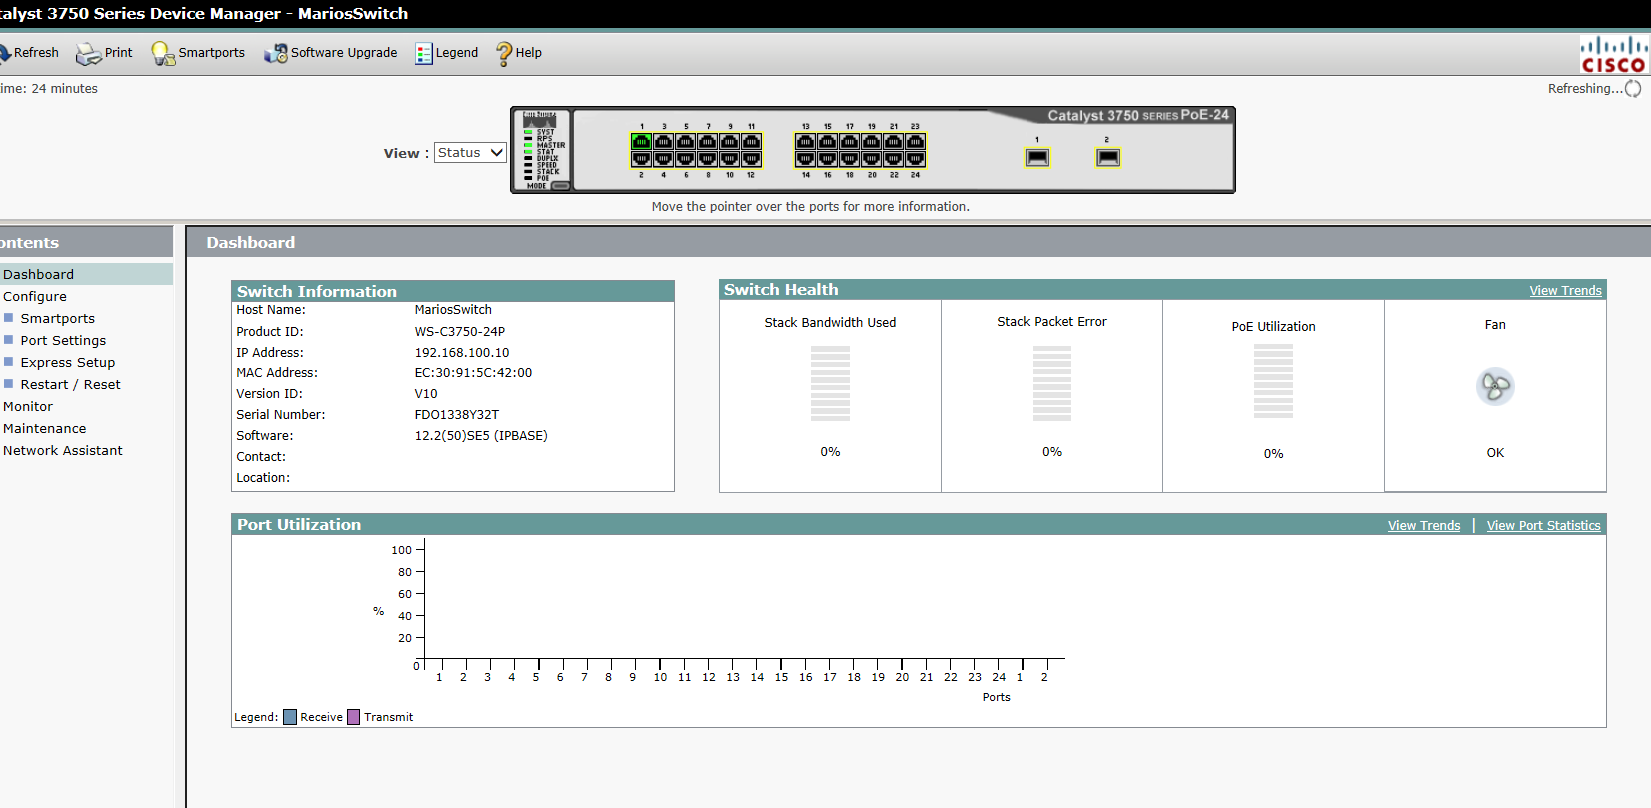
There’s some useful videos below